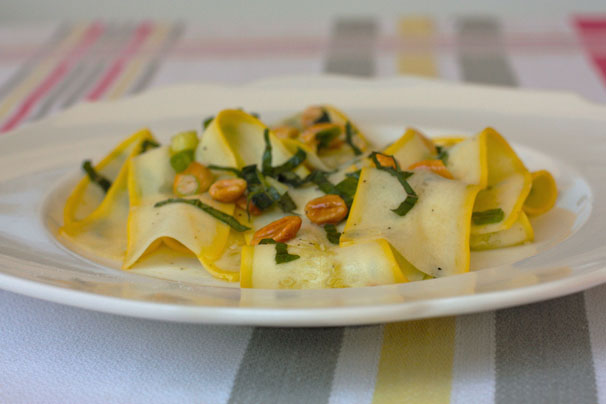
I wanted to create a refreshing salad with Southeast Asian  flavors, using the fresh produce fresh from my garden. I considered the Chayote Squash Salad with Peanuts and Lime recipe in Sally Schneider’s great book,  A New Way to Cook. But she suggests blanching the chayote, which didn’t sound that exciting. I tried making it with grilled zucchini, but the texture was a little rubbery, and the grilled squash overwhelmed the ultra-light dressing. Disgruntled, I started to think that this salad experiment wasn’t such a good idea. Then it occurred to me to use raw yellow squash, sliced into paper-thin slices. I substituted Thai Basil for the cilantro in the recipe, scallions for the shallots, and BINGO! The texture of the “ribbons” was a revelation – I wouldn’t have believed raw squash could be so delicate. If you make this, be sure to search out young, tender squash, because it makes all the difference.

Squash Ribbon Salad with Thai Basil and Peanuts

2 medium yellow squash
2 tablespoons chopped scallions
2 tablespoons extra virgin olive oil
2 tablespoons fresh-squeezed lime juice
1/2 teaspoons. sugar
1/4 teaspoon salt
1/8 teaspoon freshly ground black pepper
1/4 cup thai basil chiffonade
1/4 cup dry roasted peanuts, left whole if small, chopped if large

Cut the ends off the squash. Using a mandoline, slice it lengthwise into very thin ribbons. (If you don’t have a mandoline, you can use a vegetable peeler.) Place in a serving bowl.

In a separate bowl, whisk together the oil, lime juice, sugar, pepper and salt. Pour over the squash and let sit for five minutes. Add the Thai basil and peanuts and stir very gently to combine. Serve at room temperature.

In a former life I was a barbecue fanatic.  I dragged my vegetarian husband to shacks in the middle of nowhere – from North Carolina to Mississippi – just to eat barbecue.  He happily picked at his plate of fries while I quite literally pigged out.  (No wonder I married him.)

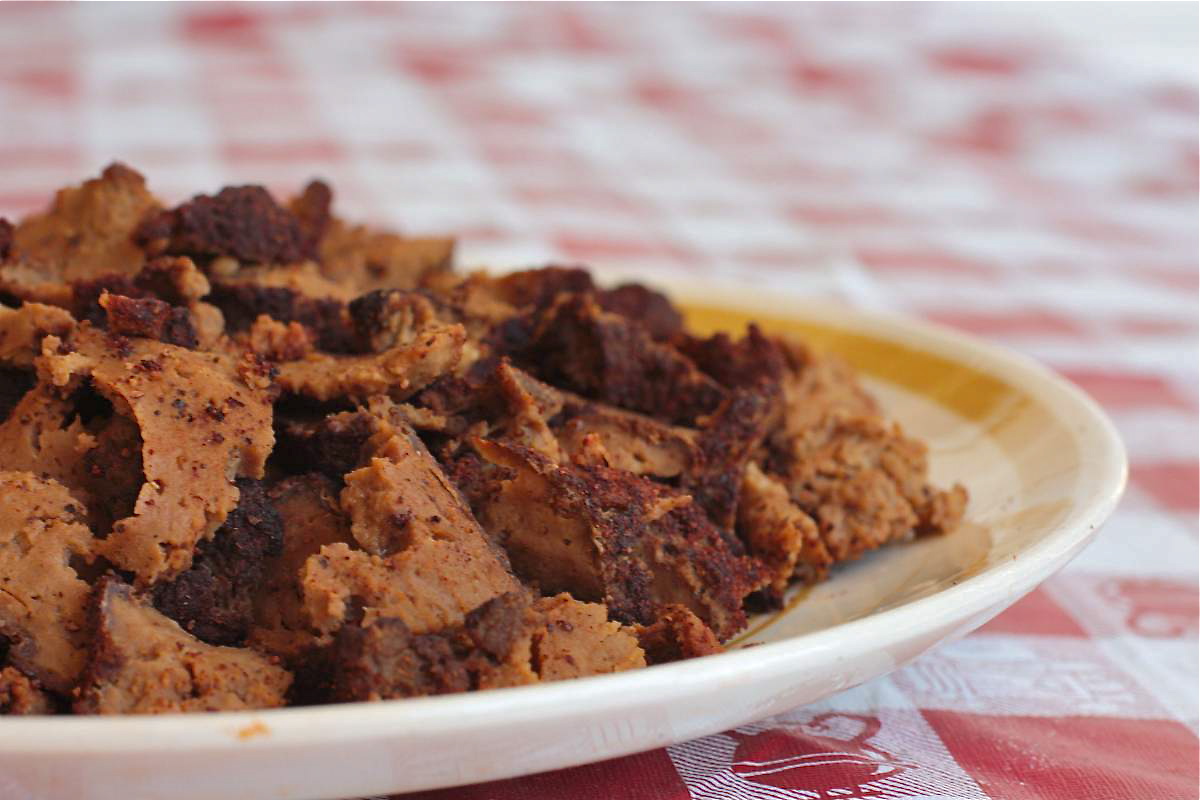
When health concerns led me to stop eating meat, I assumed that my barbecue days were over. But with my Authentic Smoked Seitan, I’ve finally found a reason to fire up my smoker.

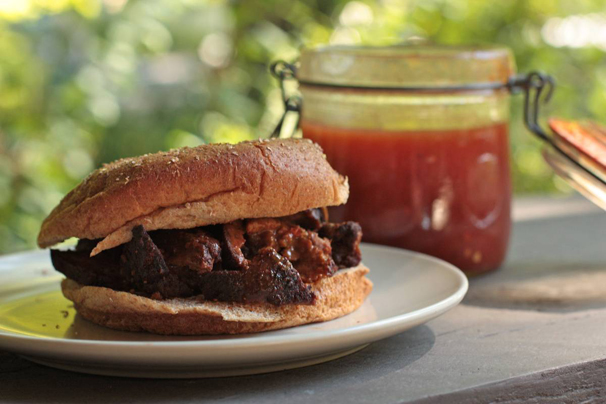
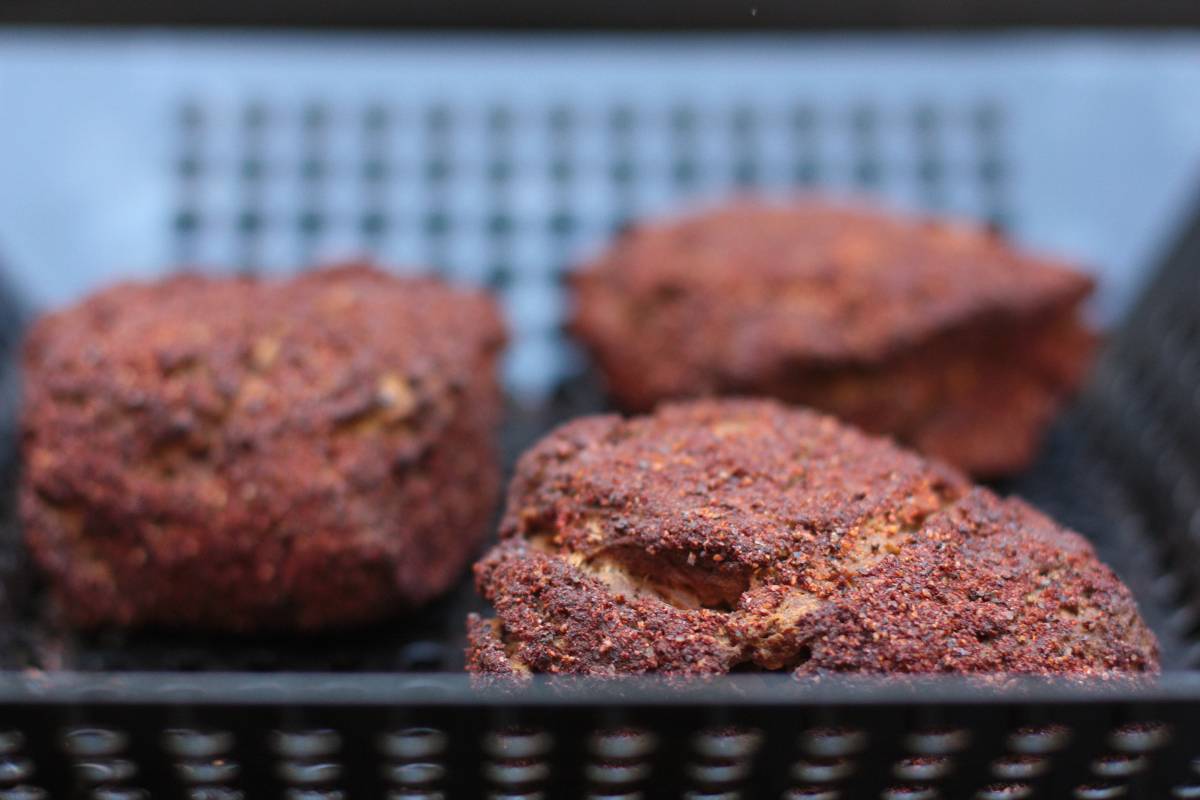
I can hear you skeptics now.  Smoked wheat gluten?  Believe it, people. This stuff looks and tastes like Texas brisket – or as close as a vegetarian version can come, anyway.  With a nice crusty exterior, it’s even got the “burnt ends” of authentic barbecue. At a 4th of July party, the guests – including meat eaters – were practically clawing at each other to eat the seitan, even before it hit the table.

I used a dry rub, leaving out the salt because the seitan itself is quite salty.  For the sauce, I chose a traditional Lexington, NC vinegar sauce.  A South Carolina mustard-based sauce also works well here.  The recipe looks long and involved, but it’s actually quite simple.  And if you don’t have a real smoker, you can smoke right in a Weber grill.

Step 1:  Make Seitan

1 ½ cups vital wheat gluten*
¼ cup nutritional yeast flakes*
1 cup + 2 tablespoons. ice water
1/3 cup low sodium soy sauce or tamari
1 tablespoon ketchup
2 cloves garlic, finely minced
1 teaspoon lemon zest
2 teaspoons paprika
¼ teaspoon cumin
1 teaspoon freshly ground black pepper
½ teaspoon chili powder

Liquid for simmering:

10 cups extremely cold water
1/3 cups low-sodium soy sauce or tamari

Combine gluten and nutritional yeast in a large bowl. In a separate bowl, mix together water, soy sauce, ketchup, garlic, lemon zest and spices.

Pour the wet ingredients into the dry and combine. Knead dough in the bowl for about 3 minutes until you have a spongy dough (this will look and feel like the most disgusting food ever). Excess liquid will accumulate in the bottom of the bowl, and that’s fine – just leave it in the bowl.  Let rest for a few minutes, then shape into a log about 7 or 8 inches long. Cut into 3 pieces.

Put the cold water and soy sauce in a large saucepan and gently put the pieces of dough in the liquid. Partially cover the pot and bring to a boil. Lower heat and simmer for one hour, turning the pieces occasionally.  Let it cool for ten minutes, then remove the seitan. As soon as it’s cool enough to handle, squeeze out all the liquid you can, being careful not to break the hunks of seitan.  Wrap each piece in plastic wrap or place in a zip lock bag and refrigerate for several hours or overnight.

* Vital wheat gluten and nutritional yeast are available at any health food store or markets like Whole Foods.
Step 2:  Rub and smoke

Dry rub:

3 T. paprika
1 T. black pepper
1 T. sugar
1 T. chili powder
2 t. garlic powder
2 t. onion powder
1 t. cayenne pepper
½ t. dry mustard powder

Start a fire in your smoker.  Soak wood chips (preferably hickory) for 45 minutes or more. Coat the seitan pieces in the dry rub mixture and put it on a grill basket or right on the grate. Throw some wood chips on the hot coals and close the  cover. Smoke for 1 ½ hours, adding more soaked wood chips occasionally.   If your smoker has a thermometer, keep the temperature at about 225.
Step 3:  Sauce and eat

Barbecue sauce:

1 c. water
1 c. cider vinegar
2/3 c. ketchup
1 T. sugar
½ t. red pepper flakes
½ t. freshly ground pepper
1 t. salt

Whisk the sauce ingredients together until sugar dissolves. Let the smoked seitan cool for 5 minutes, then slice, drizzle with sauce and serve plain or on buns.  (Note: It’s best served right after you smoke it – if you reheat it in an oven later, the edges will lose the crispiness.)

Jul 6, 2010

Vegetarian pozole

I can’t count how many bowls of porkalicious pozole I consumed during my decade in San Francisco.  Now, my arteries prevent me from indulging in that traditional dish. I was skeptical about vegetarian pozole, but after one taste of this version I created, it has rocketed to the top of my list. It gives me that same old pozole thrill!  This is a great party dish, because people enjoy the process of adding all the essential toppings: cilantro, thinly sliced radishes, cabbage, roasted pepitas, avocado and lime. The mix of flavors and textures is simply spectacular.

I started with Rancho Gordo’s recipe and branched out from there. The major enhancement was ground pepitas, which give the dish much more body and depth of flavor. For the hominy, I used RG’s “Prepared Posole,” which is not difficult to cook, but takes some time.  You can substitute canned hominy if you’re in a rush, although you won’t get the same intense corn flavor. Trust me, making pozole from scratch is well worth the effort.

Vegetarian Pozole

1 cup whole dried hominy
2/3 cup roasted, lightly salted pepitas (pumpkin seeds) – half reserved for garnish
1 medium red onion, thickly sliced
1 serrano pepper, stemmed
3 cloves garlic, peeled
12 tomatillos, papery skins removed, rinsed
1 tablespoon olive oil
1 teaspoon ground cumin
1 teaspoon dried Mexican oregano
1 cup cilantro leaves
1 4-ounce can fire roasted green chiles (Ortega makes these, or use Hatch chiles if you can find them)
4-5 cups vegetable broth (use gluten-free broth if you are gluten-sensitive)
Salt to taste

For garnish:

cilantro
thinly sliced radishes
cubed avocado
dried Mexican oregano
Roasted pepitas
Very thinly sliced green cabbage
Lime Wedges

Place hominy in a large bowl and cover generously with water.  Soak for 6 hours or overnight, then drain. Place it in a saucepan with water to cover generously, and cook according to the package directions (for Rancho Gordo’s hominy, bring to a boil, reduce heat and simmer, partially covered, until tender, about 2 1/2 to 3 hours.)  Season with a little salt and cool in the liquid.

Bring a pot of water to boil in a saucepan and add the tomatillos.  Simmer until tender, 10-12 minutes. Drain and set aside.

On a hot, dry skillet (cast iron works best), roast the onion, serrano peppers and garlic, turning occasionally until they are nicely charred, about 15 minutes. Remove to a plate to cool.

In the same skillet, toast the ground cumin and the oregano over medium-low heat for one minute, then add the olive oil and cook for an additional minute.

Put the oil/spice mixture, the charred vegetables, 2 cups broth, cilantro, canned green chiles, prepared tomatillos and half the pepitas in a food processor and puree until smooth.

Pour the mixture into a large dutch oven. Add 2 cups additional broth, and simmer for 10 minutes. Add an additional cup of broth if the mixture seems too thick. Season with salt to taste. Add the drained cooked hominy, return to a simmer and serve. Add garnishes to individual bowls.

Serves 4-6

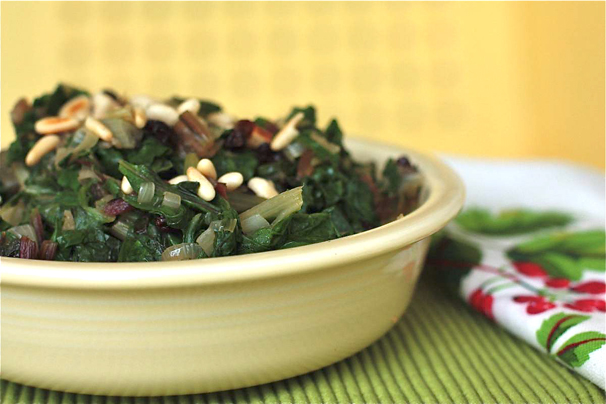
First the arugula, now the Swiss chard.  The bugs are having a field day in my garden!  Luckily, I went overboard in planting chard, so between my ten or so plants, I still came away with a big bagful this week.  The leaves are all hole-y, but who cares.  I decided to cook up the greens with some spring onions, garlic, toasted pine nuts and currants.

Is it Italian? Spanish?  I’m not quite sure – there are variations on this dish all over the Mediterranean.  All I know is that it’s one of the most delicious ways to eat chard.  It makes a perfect side dish for a pasta dish such as my spaghetti with vegan bolognese sauce, or as a topping for bruschetta.  I would even eat this for breakfast in an egg white omelet. But I’m weird that way.

I’m amazed at how many people tell me they have never eaten Swiss chard.  That’s a cryin’ shame, because it’s one of the most intensely delicious vegetables out there, and the nutritional profile is just amazing – tons of vitamins K, A, C, magnesium, iron and fiber. So come on people, eat your chard.  Alright, lecture time is over.  I’m off to stock up on organic bug spray.  Faster Cathy, Kill, Kill!

Swiss Chard with Onions, Currants and Pine Nuts

3 tablespoons pine nuts
1 tablespoon extra virgin olive oil
1 medium-large onion, quartered and thinly sliced
2 cloves garlic, minced
2 large bunches Swiss chard, washed and stemmed, leaves chopped, stems diced
3 tablespoons dried currants
1 tablespoon balsamic vinegar

Toast the pine nuts in a dry skillet over medium heat until golden, and set aside.

Heat the olive oil in a large deep skillet or dutch oven. Add the onions and cook over medium heat until very s0ft and starting to brown, about 10-12 minutes.

Add garlic and chopped chard stems, and cook until stems are tender, about 15 minutes.

Add the currants and chard leaves and cook for 3-5 minutes, until leaves are tender. Season to taste with salt and pepper. Stir in vinegar, top with pine nuts and serve.

Serves 4